
Table of Contents
Shipping Container Site Preparation Guide: 10 Powerful Steps for a Smooth Delivery
A container can arrive ready for work, but the site has to be ready to receive it. This shipping container site preparation guide covers the practical checks that prevent common delivery-day problems: a truck with nowhere to turn, soft ground under a loaded container, doors that bind after placement, or water collecting beneath the floor.
Whether you are buying a 10-foot storage container for a backyard, a 40-foot unit for a job site, or a custom container office or reefer for a commercial operation, preparation starts before the container is loaded for delivery. A little planning protects the unit, keeps access usable, and helps you put the container to work immediately.
Start With the Container's Intended Use
The right site is not simply a flat piece of ground. It needs to support how you will use the container over time. A storage container needs dependable door access and enough clear area to move equipment in and out. A container office may need a practical path for staff, utilities, and parking. A container pool, home, or other conversion requires more planning because the finished structure, interior build-out, and surrounding use can change the load and layout.
Start by confirming the container size, door position, and orientation. Standard 20-foot and 40-foot containers are common choices for storage and commercial applications, while 10-foot containers fit tighter properties. High-cube containers provide additional interior height, which can be useful for equipment, shelving, or conversion projects. Reefer containers have their own operational needs, including space for service access and electrical planning when cooling is required.
Think about what happens at the doors. If forklifts, skid steers, ATVs, lawn equipment, pallets, or hand trucks will enter the container, leave room for them to approach and turn. Do not place the doors facing a fence, slope, drainage ditch, or narrow drive simply because that orientation looks neat on a site plan.
Confirm Delivery Truck Access Before Preparing the Pad
Delivery access is often the first real constraint. A container may be transported on a tilt-bed truck, trailer, or other equipment selected for the route and site conditions. These vehicles need sufficient width, overhead clearance, and maneuvering space to reach the placement area safely.
Walk the route from the public road to the planned container location. Check gate openings, drive width, sharp turns, low tree branches, utility lines, soft shoulders, and parked vehicles. A route that works for a pickup truck may not work for a large delivery vehicle carrying a 20-foot or 40-foot container.
Pay close attention to vertical clearance. Trees, overhead wires, building overhangs, and carports can interfere with the truck or the container during unloading. Trim vegetation where appropriate and remove movable obstacles before delivery. If the route includes a narrow turn or steep grade, share photos and site details when arranging delivery so the transport plan can be evaluated in advance.
The delivery area also needs room beyond the container footprint. Tilt-bed unloading, for example, may require clear space in front of the final placement location as the container is slid or positioned off the truck. Avoid staging materials, vehicles, or equipment in this area. Delivery crews cannot safely work around last-minute obstructions.
Choose Firm, Elevated Ground
Containers are built to carry heavy cargo through demanding transport conditions, but they still need consistent support once they are set in place. The corner castings are the primary load-bearing points. When those corners are supported on stable, level bearing surfaces, the container frame is less likely to twist.
Soft soil, freshly filled ground, loose sand, saturated grass, and uneven slopes can cause settlement. One corner dropping even slightly can affect door operation, create standing water, and place unnecessary stress on the frame. This is especially relevant on properties that get frequent rain, have high water tables, or see heavy equipment traffic.
Choose the firmest practical area of the property and remove loose organic material, roots, and unstable surface debris. If the ground is naturally soft or the container will hold heavy inventory, machinery, or dense materials, the site may need a more engineered support approach. A qualified local site or foundation professional can assess soil conditions and recommend a suitable solution for the intended load.
Elevation matters as much as firmness. Set the container above surrounding grade rather than in a low spot where runoff naturally gathers. The goal is to keep water moving away from the container, not under it.
Common Support Options
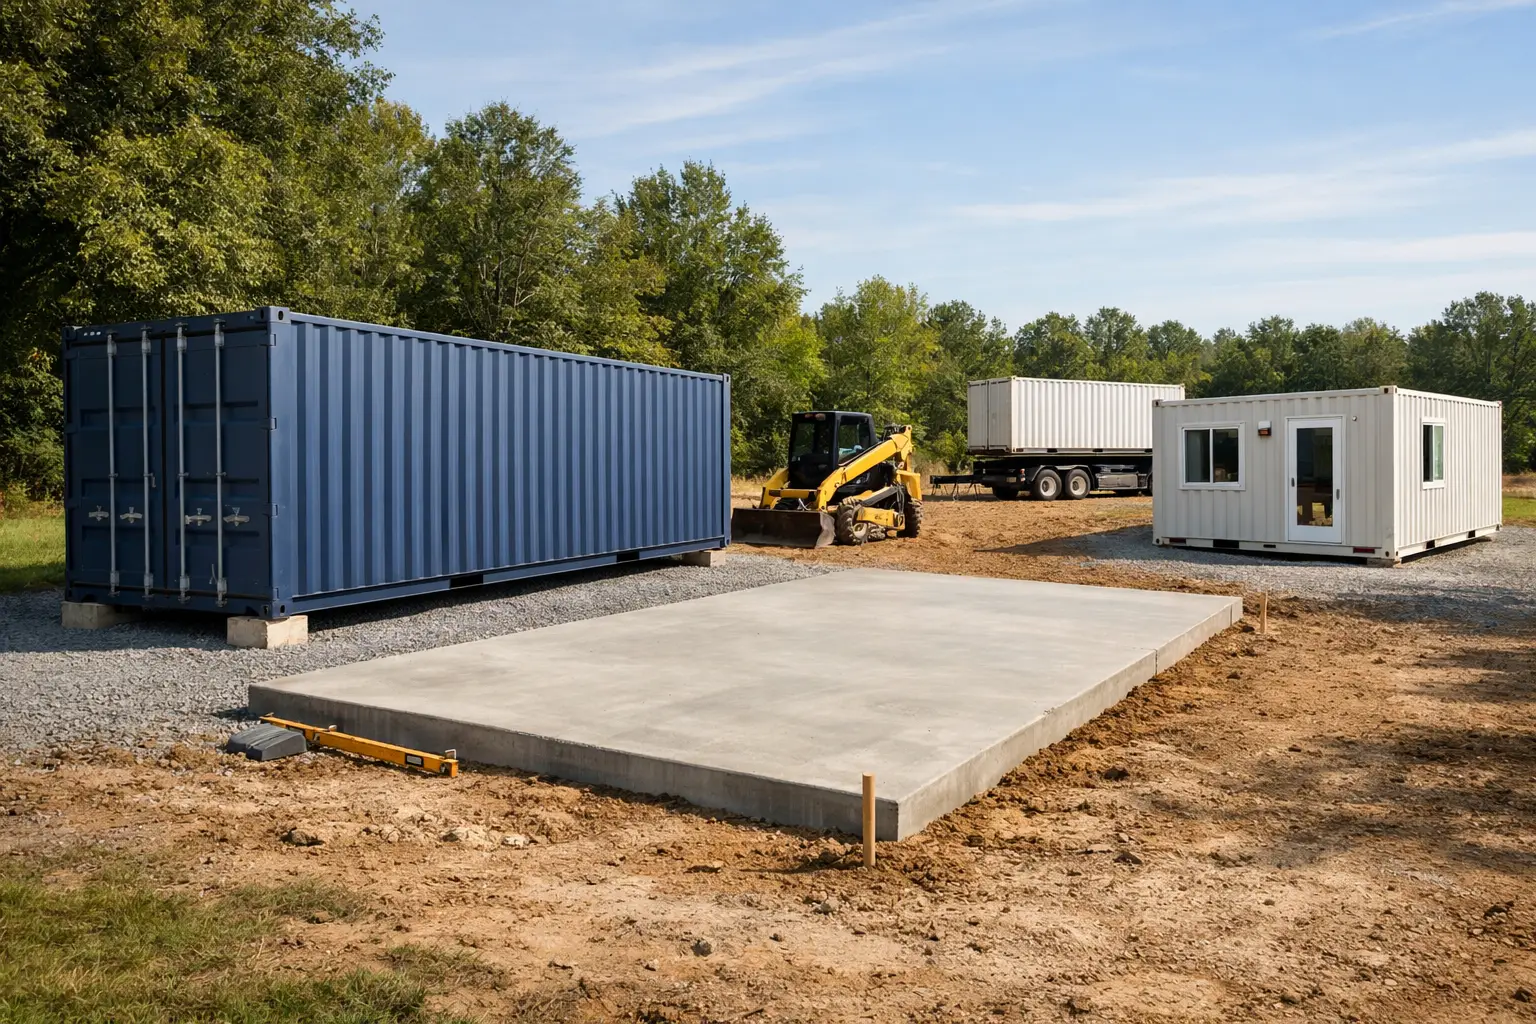
The support method depends on soil, container length, expected load, and whether the installation is temporary or permanent. Common options include compacted gravel pads, concrete piers or pads, precast concrete blocks designed for bearing loads, and continuous foundation systems for certain conversion projects. Shipping Container Site Preparation Guide
A compacted gravel base can be a practical choice for straightforward storage applications when it is properly prepared and drains well. Concrete supports can offer a more defined bearing point and may suit sites with heavier use or a more permanent plan. For container offices, homes, pools, and other customized installations, support requirements can be more specific because the project may involve structural modifications, utility connections, or occupied space. Shipping Container Site Preparation Guide
Do not rely on random loose blocks, scraps of lumber, or uneven stones as a long-term support method. They can shift, rot, crack, or create uneven contact. Whatever support system you select, keep it level and make sure it is sized and placed to carry the load at the corners. Shipping Container Site Preparation Guide
Build Drainage Into the Site Plan
Water is one of the easiest site issues to overlook because a location can appear dry on a clear day. Look for signs of runoff patterns: ruts, pooled water, washed-out soil, lush low spots, or drainage paths from roofs and nearby slopes. These clues show where water goes after a storm. Shipping Container Site Preparation Guide
Grade the surrounding area so surface water moves away from the container. Gravel around the placement area can reduce mud and improve access, but it is not a substitute for proper drainage if water is flowing toward the site. Consider where downspouts discharge and whether nearby hard surfaces direct runoff toward the container. Shipping Container Site Preparation Guide
Keeping the container slightly raised also improves airflow beneath the floor. That gap makes it easier to inspect the underside and helps avoid prolonged contact with wet soil. Do not bury the lower rails or bank soil against the container walls. Moisture held against steel can accelerate corrosion over time. Shipping Container Site Preparation Guide
Level the Supports, Not Just the Ground
A site can look level and still leave a container out of square. The critical measurement is the elevation of the bearing points where the container corners will rest. Use a string line, level, laser level, or qualified site professional to verify those points before delivery. Shipping Container Site Preparation Guide
This step matters because container doors are sensitive to frame twist. If the doors are difficult to open after placement, it may be a sign that the container is not evenly supported. Correcting an uneven base before delivery is far easier than trying to adjust a loaded container afterward. Shipping Container Site Preparation Guide
Plan for a small amount of practical tolerance in the finished site, but do not assume the delivery crew can solve a poorly prepared pad. The best result comes from having level, accessible supports ready before the truck arrives. Shipping Container Site Preparation Guide
Plan Utilities and Work Areas Early
For a basic storage container, you may only need exterior lighting or a nearby access path. For a custom office, welfare unit, home, workshop, or refrigerated container, utility planning should happen before the container is placed. Identify where electrical service, water, drainage, communications, and equipment connections may need to run. Shipping Container Site Preparation Guide
Leave access to service panels, reefer machinery, vents, doors, and any planned exterior additions. It is easy to block a useful service area with fencing, landscaping, stacked materials, or another container. If you expect to add ramps, stairs, awnings, shelving, or security features, account for their footprint now. Shipping Container Site Preparation Guide
For projects involving occupied spaces or permanent construction, confirm applicable local requirements with the appropriate local authorities and qualified professionals. Requirements can vary significantly by property and project type. Shipping Container Site Preparation Guide
Final Shipping Container Site Preparation Checklist
Before delivery, make one final pass through the site. Verify that the travel route is open, the placement area is clear, supports are level, and drainage paths are not blocked. Mark the desired container orientation so there is no confusion about which end should face the work area, driveway, or access gate. Shipping Container Site Preparation Guide
Also make sure the ground near the delivery route can carry the delivery vehicle without sinking or breaking apart. Rain can change site conditions quickly, particularly on clay, grass, or recently graded soil. If weather changes the site, communicate early so delivery arrangements can be reviewed. Shipping Container Site Preparation Guide
Outback Shipping Containers can help buyers match the container type and delivery needs to the project, from standard new and used storage containers to custom-built units. When you request a quote, provide the container size, delivery location, intended use, and any access details you already know. Shipping Container Site Preparation Guide
A well-prepared site does more than make delivery easier. It gives your container a stable start, protects access to the doors and equipment inside, and leaves you with a space that is ready for the work you bought it to do. Shipping Container Site Preparation Guide